

Installing solar lights indoors transforms rooms without touching a single electrical wire or adding dollars to your monthly utility bill. The process takes about 15 minutes per fixture and requires nothing more than basic positioning skills and an understanding of how natural light moves through your space. Whether you’re lighting a dim hallway, adding ambiance to a bedroom, or brightening a windowless closet, solar lights indoors offer a practical solution that sidesteps expensive electrician visits and complicated installations.
The concept might seem counterintuitive at first. After all, solar panels need sunlight, and indoor spaces receive far less direct light than outdoor areas. But that’s precisely why the installation approach differs significantly from what you’d do in a garden or on a patio. Success depends on strategic panel placement near windows, selecting fixtures designed for lower-light conditions, and understanding the realistic output you can expect from panels charging indoors.
Most homeowners discover this lighting method when facing situations traditional fixtures can’t solve easily: rental properties where modifications aren’t allowed, rooms far from existing outlets, or spaces where running new wiring through walls would require costly renovation work. The beauty lies in the simplicity. Position the panel where it catches maximum daylight, mount or place the light fixture where you need illumination, and let the system work automatically once the sun sets.
What You’ll Need: Tools and Materials for Indoor Solar Installation
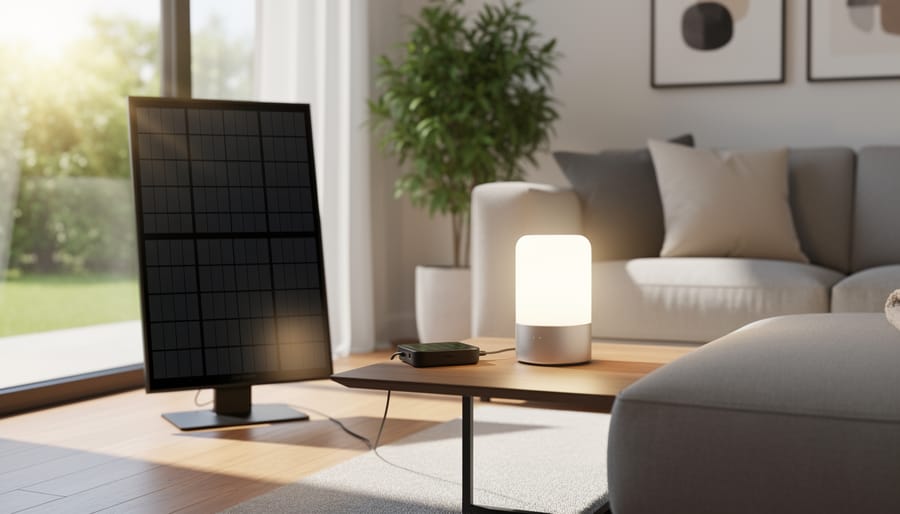
Getting the right supplies before you start makes the installation process smooth and stress-free. The good news is that most of what you need is either already in your home or available at affordable prices from hardware stores and online retailers. Here’s what to gather before beginning your indoor solar lighting project.
Solar Light Fixtures
Your fixture choice depends on the room and lighting purpose. Pendant-style solar lights work beautifully for dining areas and entryways, creating a focal point while providing ambient illumination. Strip lights excel under cabinets or along shelving for task lighting in kitchens and offices. Solar bulbs that screw into standard sockets offer the easiest swap-in solution for existing fixtures. Task lights with adjustable heads are perfect for reading nooks and workspaces. Look for fixtures with removable solar panels connected by cables, which give you flexibility in panel placement while positioning the light exactly where you need it.
Essential Installation Supplies
- Mounting hardware: adhesive hooks rated for your fixture’s weight, wall anchors and screws for permanent installation, or mounting brackets that come with your chosen lights
- Cleaning supplies: microfiber cloths for both window glass and solar panel surfaces, glass cleaner, and isopropyl alcohol for removing residue before mounting adhesives
- Measuring tools: tape measure for spacing and height placement, pencil for marking drill points, and a level to ensure fixtures hang straight
- Optional accessories: extension cords if your panel needs to sit far from the fixture, suction cups for temporary window mounting, and cable clips to neatly route wires along baseboards or corners
Shop strategically to stay within budget without sacrificing quality. Hardware stores like Home Depot and Lowe’s stock reliable mounting hardware and cleaning supplies at fair prices. Online marketplaces offer competitive deals on solar fixtures, but read reviews carefully to avoid cheap decor that fails within months. Target mid-range products with solid warranties. Many homeowners already have measuring tools and cleaning cloths on hand, which immediately reduces your startup costs.
Safety Considerations and Important Warnings
Before you start drilling holes or sticking panels to your walls, let’s cover a few essential safety points that will save you headaches later. Indoor solar lighting is generally low-risk, but a little caution upfront prevents damage to your home and ensures your system actually works.
First, respect weight limits on adhesive mounts. Those command strips might seem sturdy, but they’re rated for specific loads, usually 1-5 pounds depending on the size. A solar panel with its mounting bracket can easily exceed this, especially if you’re positioning it at an angle. Check the package specifications and add a safety margin. If your panel setup is heavier than the adhesive can handle, switch to screws anchored into studs or window frames.
Window placement requires a balance. While you need maximum sun exposure for charging, completely blocking a window creates its own problems, reduced natural light in your room and potential overheating of the panel in summer months. Position panels to one side of the window or use smaller units that don’t obstruct the entire pane. Clean windows regularly, since dirt and grime reduce charging efficiency by up to 25%.
Keep panels and fixtures away from moisture-prone areas unless they’re explicitly rated for damp locations. That means no solar panels directly above sinks, in shower areas, or near humidifiers. Even “indoor-rated” lights can corrode or short-circuit with prolonged moisture exposure.
Finally, verify that your fixtures carry proper indoor certification marks (UL, ETL, or CE). If you’re planning to hardwire any component into your home’s electrical system, rare for solar but possible with hybrid models, check local building codes first. Some municipalities require permits or licensed electrician work for permanent lighting installations, even low-voltage ones.
Step-by-Step: Installing Your Indoor Solar Lighting
Step 1: Assess Your Space and Sunlight Access
Start by spending a full day observing how sunlight moves through each room. Walk through your space every two to three hours, morning, midday, and late afternoon, and note which windows receive the most direct light and for how long. South-facing windows typically get the strongest, most consistent sun exposure throughout the day, making them ideal for solar panel placement.
Use painter’s tape to mark spots where sunlight hits walls, windowsills, or furniture during peak hours. Take photos at different times to compare intensity and coverage. You’re looking for locations that receive at least four to six hours of direct sunlight daily for optimal charging performance.
Consider your actual lighting needs alongside sun access. A brightly lit window might be perfect for charging, but if you need the light fixture ten feet away in a dim corner, you’ll need a system with an extension cable between the panel and bulb. Measure these distances now, before purchasing components.
Don’t forget seasonal changes. Windows that flood with light in summer may be shaded by trees or blocked by the sun’s lower winter angle. If possible, assess your space during the season when you’ll use the lighting most.
Step 2: Prepare the Solar Panel and Fixture
Start by carefully removing all components from the packaging and laying them out on a clean surface. You should have the solar panel, light fixture, mounting hardware, cables, and any battery packs or controllers. Check each piece against the instruction manual to confirm nothing is missing or damaged during shipping.
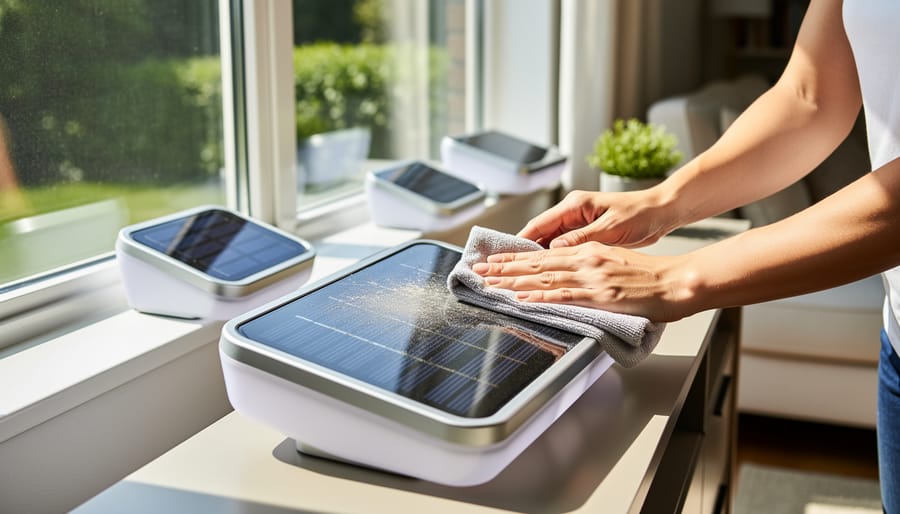
Before installation, wipe down the solar panel surface with a soft, lint-free cloth and a bit of glass cleaner. Even new panels can have manufacturing residue or fingerprints that reduce charging efficiency by 10-15%. Pay special attention to the edges where dust tends to collect.
Now comes the most important preparation step: charging the battery. Place the solar panel in your sunniest window for 1-2 full days before mounting anything permanently. This initial charge primes the battery and ensures optimal performance from day one. Many solar lights arrive with partial charges that won’t give you a true sense of their brightness.
Once charged, test the light fixture in a dark closet or at night. Toggle the switch several times and check that it illuminates at full brightness. If it’s dim or flickers, give it another day of charging before proceeding with installation.
Step 3: Mount or Position the Solar Panel
Start by identifying your brightest window, ideally south-facing if you’re in the Northern Hemisphere, or north-facing if you’re down under. This window will be your solar panel’s power source, so placement matters more than you might think.
If your panel came with suction cup mounts, clean the glass thoroughly with window cleaner first. Any dust or residue will weaken the grip. Press the suction cups firmly against the glass, ensuring there are no air bubbles trapped underneath. These work brilliantly for temporary setups and won’t leave marks when you remove them.
Prefer adhesive strips? Apply them to the window frame rather than the glass itself. They create a stronger bond with painted wood or vinyl frames, and you can remove them later without damaging the surface. Just follow the manufacturer’s weight recommendations.
For the simplest approach, place the panel freestanding on your windowsill. This method gives you maximum flexibility to adjust the angle throughout the day. Prop the panel at roughly 30-45 degrees facing the sun, a small book or folded cloth works perfectly as a wedge. Check the panel’s position after a few hours to confirm it’s still catching direct sunlight as the sun moves across the sky.
Step 4: Install the Light Fixture
With your solar panel positioned and charged, it’s time to mount the light fixture itself. Start by deciding exactly where you want the light to shine. For pendant fixtures, measure 30-36 inches above a desk or table for task lighting, or 6-7 feet from the floor for ambient room lighting. Strip lights work best under cabinets or along shelves where they’ll provide functional illumination without glare.
Mark your mounting points with a pencil. Hold the fixture’s mounting bracket against the wall and use a level, even a smartphone app works, to ensure it’s straight before marking screw holes. For drywall, use plastic anchors that match your fixture’s weight (check the packaging). Heavier pendants need toggle bolts for secure support. Plaster walls? Pre-drill with a masonry bit to prevent cracking. Renters should consider adhesive strips rated for the fixture’s weight, which remove cleanly later.
Drill pilot holes if needed, then attach the mounting bracket with screws. Most solar fixtures have a two-piece system: the bracket stays on the wall while the light clips or slides into place. Before securing the fixture completely, route the cable from your solar panel to the light. Run it along baseboards or behind furniture, using clear cable clips every 12 inches to keep it tidy and prevent tripping hazards. Some kits include flat cables that tuck under carpets or along door frames.
Attach the fixture to its bracket, connect the cable to the designated port, and give it a gentle tug to confirm everything’s secure.
Step 5: Connect and Test the System
With your panel positioned and fixture mounted, you’re ready for the final connection. Start by plugging the fixture’s cable into the solar battery or controller unit, most systems use a simple DC barrel connector that clicks firmly into place. Locate the on/off switch (usually on the fixture itself or the battery pack) and flip it to the “on” position.
Now comes the moment of truth. To properly test your installation, follow this verification checklist:
- Cover the solar panel completely with a dark cloth or move to a windowless room to simulate nighttime conditions
- Wait 30 seconds for the light sensor to activate the fixture
- Confirm the light illuminates at the expected brightness level
- Test any dimming controls or brightness settings if your model includes them
- Remove the panel cover and verify the light automatically turns off when detecting daylight
If nothing happens when you cover the panel, don’t panic. Check that all connections are fully seated, a loose plug is the most common culprit. Verify the battery received adequate initial charge by checking any indicator lights on the controller. Some systems require 48 hours of window exposure before the first use. Still dark? Try manually toggling the switch off and on again, or consult your product’s reset procedure, which typically involves holding the power button for 10-15 seconds.
Room-Specific Installation Tips
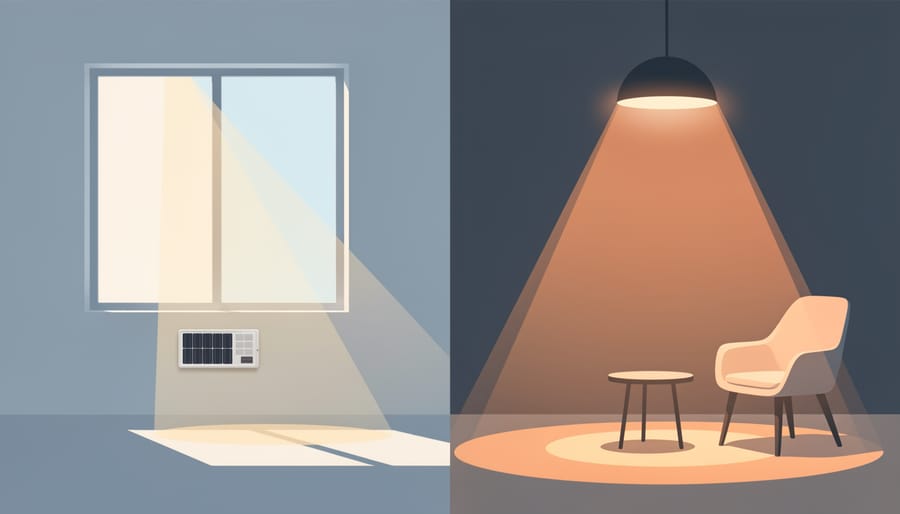
Different rooms call for different approaches when installing solar lighting, both in terms of fixture choice and panel placement strategy.
- Living rooms: Position strip lights along crown molding or behind furniture for ambient glow; place panels on nearby windowsills to avoid visible wiring across walls
- Kitchens: Mount under-cabinet task lights with extension cables running to panels positioned on upper cabinet tops or adjacent windows
- Bedrooms: Use adjustable reading lamps on nightstands with compact panels tucked behind curtains or on window frames
- Bathrooms: Choose moisture-resistant fixtures for vanity areas and position panels outside the humidity zone, ideally in an adjacent hallway window
- Home offices: Install desk lamps with flexible goosenecks paired with panels that can sit on the desk surface near a window or mount to the window itself
For living spaces where aesthetics matter most, treat your solar fixtures as design elements rather than afterthoughts. In living rooms, solar pendant lights work beautifully when hung at varying heights to create visual interest, while the panels remain discreetly positioned on window frames painted to match your trim. The key is keeping cables tidy, use adhesive cable clips in your wall color or run wires along existing architectural lines like baseboards and door frames.
Kitchens benefit enormously from under-cabinet solar strips, which provide focused task lighting exactly where you need it for meal prep. If your panels can’t reach a window directly above, extend the cable to a south-facing window elsewhere in the kitchen. This setup aligns perfectly with budget-friendly kitchen lighting ideas that don’t require an electrician or major renovation.
Bedrooms offer the most flexibility since lighting needs are often softer and more localized. Solar-powered bedside lamps eliminate the need for outlet proximity, letting you position your bed anywhere in the room. For those seeking romantic bedroom lighting consider warm-toned solar string lights draped along a headboard or window frame, with panels charging unobtrusively during the day.
Bathrooms require extra attention to moisture ratings. Keep solar panels completely outside shower and tub splash zones, and verify fixtures are marked for damp locations. Mount vanity lights above or beside mirrors where they’ll actually illuminate your face, not just cast decorative shadows.
Home offices work exceptionally well with solar desk lamps that offer adjustable brightness, perfect for video calls and focused work without straining your eyes or your electric bill.
How to Verify Your Installation and Optimize Performance
Your first few days with indoor solar lighting are crucial for understanding how your system performs and what adjustments might improve results. Start by observing the initial charge cycles closely, most systems need at least 8 hours of direct sunlight through a window to reach full capacity, though this varies by season and your home’s orientation. During the first week, note when the light turns on at dusk, how long it stays bright, and whether it dims noticeably before dawn. If your fixture runs for less than the manufacturer’s stated duration, the panel likely isn’t getting enough sun exposure or the battery needs additional charging time to reach peak performance.
Check battery health after one week of use by covering the solar panel completely during daylight hours, then observing whether the light still operates normally that evening. Weak or flickering output suggests the battery hasn’t fully conditioned yet or your charging window is too brief. Clean the solar panel surface monthly with a microfiber cloth and water, dust, fingerprints, and window grime can reduce charging efficiency by 20% or more. If light output remains disappointing after these adjustments, consider relocating the panel to a sunnier window or upgrading to a higher-wattage system with a larger battery capacity.
Once you’ve optimized one installation and seen how much you slash energy bills expanding to additional rooms becomes straightforward. Apply the same assessment process, identify bright windows, match fixture types to each space’s needs, and monitor performance during the first week. Many homeowners start with a single room, gain confidence through hands-on experience, then gradually illuminate their entire home with solar solutions that pay for themselves within months.
Common Questions About Indoor Solar Lighting
Will solar lights work in rooms that don’t get much direct sunlight?
Yes, but expect reduced performance. Solar panels can charge from indirect or diffused light, though they’ll take longer and the battery won’t reach full capacity. Place the panel in your brightest window and consider higher-capacity battery models for rooms with limited sun exposure.
How long do indoor solar light batteries typically last?
Most rechargeable batteries in solar lights last 2-4 years with normal use before needing replacement. Battery longevity depends on charge cycles and ambient temperature, keeping your lights in moderate conditions extends their lifespan.
Can I install solar lighting as a renter without damaging walls?
Absolutely. Use removable adhesive strips, suction cup mounts, or freestanding fixtures that don’t require drilling. These options leave no permanent marks and can be taken with you when you move.
How much money can indoor solar lighting actually save on electricity bills?
A single solar light replacing a 60-watt bulb used four hours daily saves roughly $8-12 annually. The savings multiply as you add more fixtures, and the upfront cost typically pays for itself within 1-2 years.
Will solar fixtures clash with my existing decor style?
Not if you shop thoughtfully. Modern solar lights come in styles ranging from industrial pendants to minimalist strips and vintage-inspired Edison bulbs. Focus on matching the fixture design to your room’s aesthetic rather than its power source.
Do solar lights provide enough brightness for reading or detailed work?
It depends on the fixture’s lumens rating. Look for solar lights rated at 300+ lumens for task lighting like reading or cooking prep. Lower-rated options work better as ambient or accent lighting.
Beyond these common concerns, shoppers often wonder about seasonal changes. Winter months with shorter days and lower sun angles do reduce charging efficiency, but south-facing windows still capture enough light for most fixtures to function. You can compensate by upgrading to larger solar panels or moving fixtures closer to windows during darker months.
Installing solar lighting indoors is simpler than most homeowners expect, and the rewards extend far beyond the initial setup. You’ve learned that with basic tools, a sunny window, and a few hours of work, you can transform any room with sustainable illumination that costs nothing to operate. The beauty of this approach lies in its flexibility, no electrician required, no rewiring needed, and renters can take their fixtures with them when they move.
Start small if you’re hesitant. Pick one space where sunlight streams in naturally, a reading nook, kitchen counter, or home office desk, and install your first solar light there. Watch how it performs through a few charge cycles, notice the gentle glow it provides each evening, and appreciate the absence of an additional line item on your electricity bill. Once you see how effortlessly it works, expanding to other rooms becomes an exciting project rather than a daunting task.
Creating a beautiful, eco-conscious home doesn’t require unlimited funds or professional expertise. It requires curiosity, a willingness to try something new, and the recognition that small changes accumulate into meaningful impact. Your space can be both stunning and sustainable, one solar-powered light at a time.